Understanding Rotator Cuff Injuries
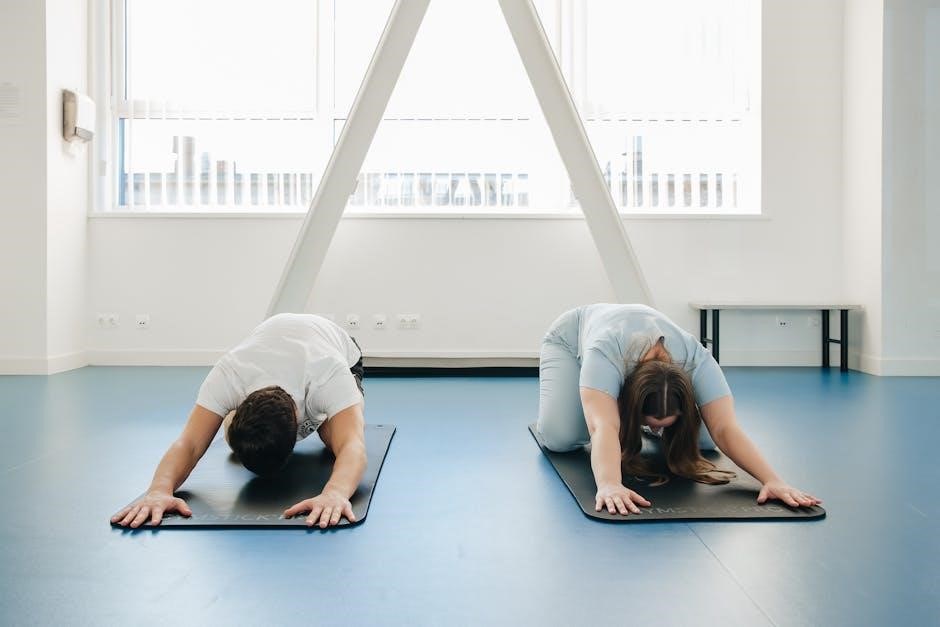
Rotator cuff injuries are frequently addressed with therapeutic exercise, considered the primary management approach, alongside potential manual therapy interventions for pain relief and restoration.
What is the Rotator Cuff?

The rotator cuff isn’t a single muscle, but a group of four muscles and their corresponding tendons surrounding the shoulder joint. These crucial components work harmoniously to keep the upper arm bone (humerus) securely within the shoulder blade (scapula).
Specifically, the muscles – supraspinatus, infraspinatus, teres minor, and subscapularis – enable a wide range of shoulder movements, including rotation, lifting, and lowering the arm. They provide essential stability, preventing dislocation during activity.
Understanding this intricate system is vital, as injuries to any of these muscles or tendons can significantly impact shoulder function and cause considerable pain. The shoulder’s ball-and-socket structure relies heavily on the rotator cuff for smooth, pain-free movement, making it a critical area for maintaining overall upper body health and mobility.
Common Causes of Rotator Cuff Injuries
Rotator cuff injuries frequently stem from repetitive overhead motions, making individuals in certain professions – like painters, construction workers, and athletes (especially those in throwing sports) – particularly susceptible. However, acute injuries, such as falls directly onto the shoulder, can also cause immediate damage.
Age plays a significant role, as tendons naturally weaken and become more prone to tearing with time. This degenerative process can be accelerated by poor posture or inadequate shoulder conditioning. Overuse, even without a specific traumatic event, can lead to inflammation and eventual tendon breakdown.
Insufficient warm-up before activity, improper lifting techniques, and a lack of strength in the surrounding shoulder muscles also contribute to injury risk. Addressing these factors through preventative measures and targeted exercises is crucial for maintaining shoulder health and minimizing the likelihood of rotator cuff problems.
Symptoms of a Rotator Cuff Injury
Rotator cuff injuries often manifest as pain, particularly when lifting or lowering the arm, or during activities involving reaching behind the back. This discomfort can range from a dull ache to a sharp, intense pain. Many individuals experience pain at night, often disrupting sleep, especially when lying on the affected shoulder.
Weakness in the arm and shoulder is a common symptom, making it difficult to perform everyday tasks like reaching for objects or combing hair. A clicking or popping sensation may be felt during movement, and there can be limited range of motion in the shoulder joint.
In some cases, a sudden, severe pain may indicate a complete tear of the rotator cuff. It’s important to note that symptom severity doesn’t always correlate with the extent of the injury; a small tear can be quite painful, while a larger tear may initially cause less discomfort.
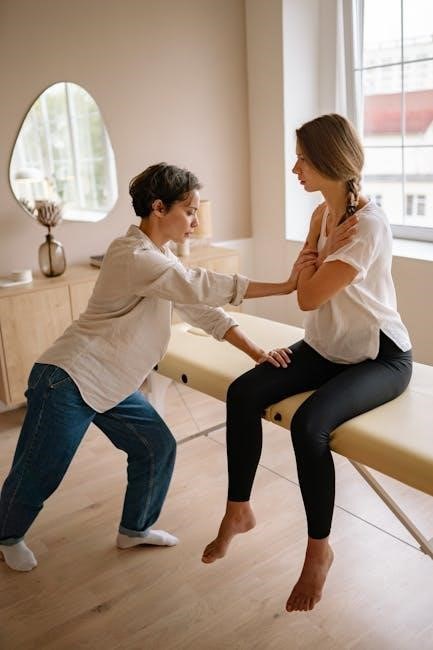
Diagnosis and Assessment
Shoulder pain is a frequent reason for physiotherapist consultation, with rotator cuff disorders being a primary cause, necessitating careful evaluation and targeted treatment plans.
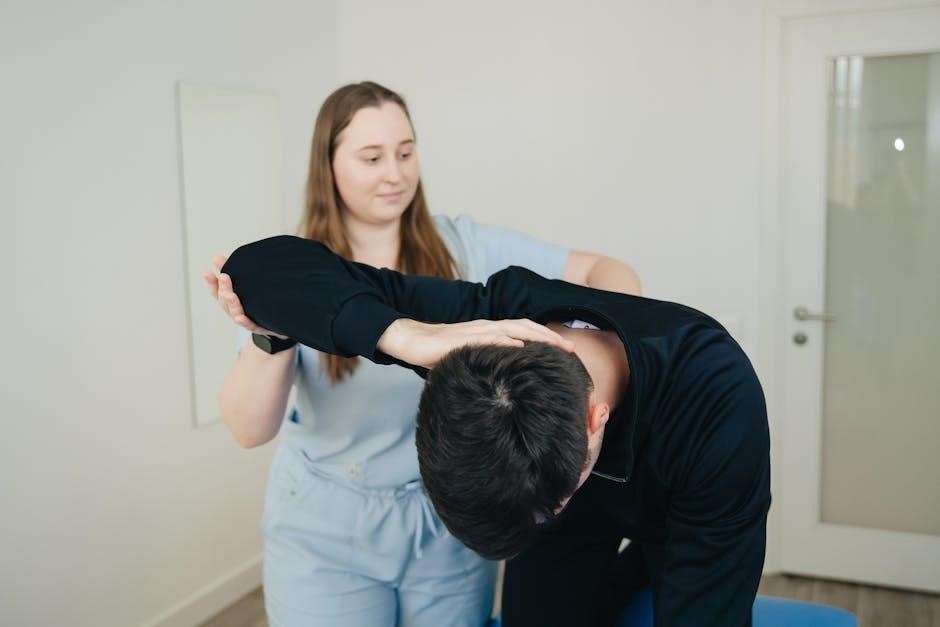
Physical Examination Techniques
A thorough physical examination is crucial for diagnosing rotator cuff injuries, beginning with a detailed patient history focusing on the mechanism of injury and pain characteristics. Clinicians assess range of motion, both active and passive, noting any limitations or pain during specific movements. Several specific tests are employed to evaluate rotator cuff function.
The Empty Can test assesses the supraspinatus muscle, while the Drop Arm test checks for significant tears. External and Internal Rotation Lag Signs help identify weakness in the infraspinatus and subscapularis muscles, respectively. Palpation around the shoulder joint can reveal tenderness, and strength testing evaluates the individual muscles of the rotator cuff. These techniques, combined with a comprehensive assessment, guide appropriate treatment strategies, often including printable exercise programs designed for progressive rehabilitation.
Imaging Tests (X-rays, MRI)
While a physical examination often provides a strong indication of a rotator cuff injury, imaging tests help confirm the diagnosis and assess the extent of the damage. X-rays are typically the first step, primarily to rule out other conditions like arthritis or bone spurs, but they don’t visualize soft tissues like tendons.
Magnetic Resonance Imaging (MRI) is the gold standard for evaluating rotator cuff tears, providing detailed images of the muscles and tendons. MRI can identify the size and location of tears, as well as any associated inflammation or swelling. These findings are crucial for determining the appropriate course of treatment, which may include physical therapy with printable exercise programs tailored to the specific injury. Accurate imaging guides rehabilitation protocols, ensuring safe and effective progression.
Printable Rotator Cuff Exercise Programs
Effective rehabilitation relies on structured exercise phases – pain relief, strengthening, and advanced functional movements – often delivered via printable PDF guides for home practice.
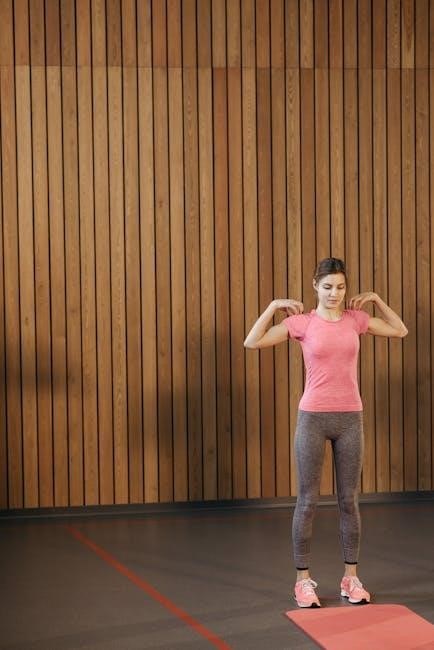
Phase 1: Pain Relief & Early Motion
Initial recovery focuses on minimizing pain and gently restoring shoulder movement. Pendulum exercises are a cornerstone, utilizing gravity to encourage motion without strain; lean forward, allowing your arm to hang and swing gently in circles.
Passive Range of Motion (PROM) exercises, often guided by a therapist or assisted at home, involve external forces moving the shoulder through its available range. This prevents stiffness and maintains joint lubrication.
Avoid active movements that cause pain during this phase. The goal isn’t to build strength, but to reduce inflammation and prepare the shoulder for more vigorous exercises. Consistency is key, performing these exercises several times a day in short sessions.
Remember to listen to your body and stop if you experience increased pain. A printable PDF can provide visual guidance and track your progress throughout this crucial initial stage of rehabilitation.
Pendulum Exercises
Pendulum exercises are a gentle, low-impact way to begin restoring shoulder mobility after a rotator cuff injury. Begin by bending at the waist, supporting yourself with your good arm. Allow the injured arm to hang freely, relaxed and loose.
Initiate small, circular movements with your arm, letting gravity do the work. These circles should be slow and controlled, avoiding any forceful motions or pain. Gradually increase the size of the circles as tolerated.
You can also perform pendulum exercises in other planes of motion – forward and backward, and side to side. A printable PDF guide can illustrate these movements clearly.
Focus on relaxation and fluidity; the exercise should feel like a gentle swing, not a strained pull. Perform 10-20 repetitions in each direction, several times a day, as part of your early rehabilitation program.
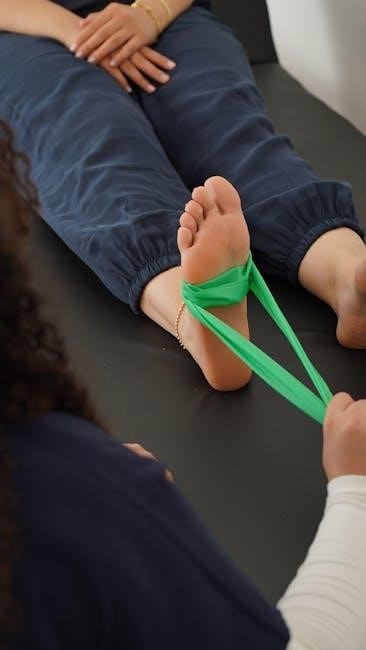
Passive Range of Motion
Passive range of motion (PROM) exercises involve an external force – typically a physical therapist or your unaffected arm – to gently move your injured shoulder through its available range. This is crucial in the initial phases of recovery, as it prevents stiffness and maintains joint lubrication without stressing the damaged rotator cuff muscles.
A printable PDF exercise guide will often demonstrate proper technique. Your therapist will guide your arm through flexion (raising it forward), abduction (lifting it away from the body), and external/internal rotation.
It’s vital to remain relaxed during PROM, allowing the external force to do the work. You should not actively contract your shoulder muscles.
These exercises are performed slowly and smoothly, stopping before any pain is experienced. PROM helps prepare the shoulder for active movements and is a cornerstone of early rehabilitation protocols.
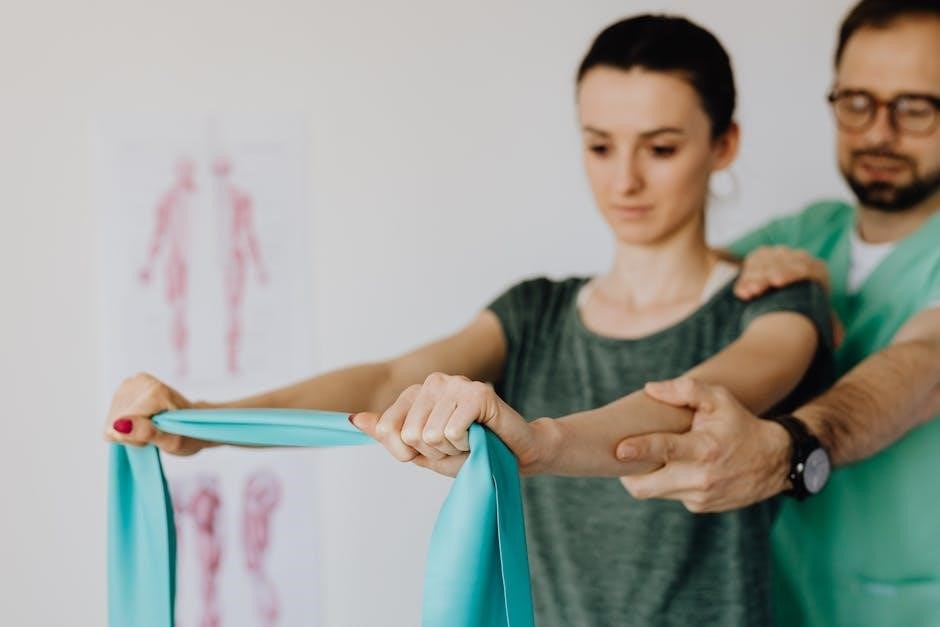
Phase 2: Strengthening Exercises
Phase 2 focuses on gradually rebuilding strength in the rotator cuff muscles. A printable PDF exercise program will typically include resistance band exercises, carefully progressing in intensity. The goal is to restore muscle function without re-injuring the shoulder.
Exercises commonly include external and internal rotation with a resistance band, focusing on controlled movements. Scaption exercises (raising the arm at a 30-45 degree angle) and rows with a resistance band also target key muscle groups.
Proper form is paramount; maintain good posture and avoid compensating with other muscles. Start with light resistance and increase it only when you can perform the exercises pain-free with good technique.
Consistency is key, and following the prescribed repetitions and sets outlined in your PDF guide is essential for optimal recovery.
External Rotation with Resistance Band
External rotation with a resistance band is a cornerstone of Phase 2 strengthening, detailed in most printable rotator cuff exercise PDFs. Secure the band to a stable object at elbow height. Keeping your elbow tucked into your side, slowly rotate your forearm outwards, away from your body.
Maintain a 90-degree angle at the elbow throughout the exercise. Focus on controlled movement, resisting the pull of the band. Avoid shrugging your shoulder or letting it rotate backwards.
Start with a light resistance band and perform 10-15 repetitions, completing 2-3 sets.
As strength improves, gradually increase the resistance of the band. This exercise specifically targets the infraspinatus and teres minor muscles, crucial for external rotation and shoulder stability. Proper form prevents compensation and maximizes effectiveness.
Internal Rotation with Resistance Band
Internal rotation using a resistance band forms a vital part of Phase 2 strengthening, commonly found within printable rotator cuff exercise PDFs. Anchor the band securely to a stable object, positioning it at elbow height. Keeping your elbow firmly tucked against your side, slowly rotate your forearm inwards, towards your body.
Maintain a consistent 90-degree angle at the elbow during the entire movement. Concentrate on a controlled motion, actively resisting the band’s pull. Prevent shoulder movement or any compensatory actions.
Begin with a light resistance band, performing 10-15 repetitions across 2-3 sets.
Progressively increase band resistance as your strength develops. This exercise primarily targets the subscapularis muscle, essential for internal rotation and overall shoulder stability. Correct technique is paramount for optimal results and injury prevention.
Scaption Exercises
Scaption exercises, frequently detailed in printable rotator cuff exercise PDFs, are crucial during Phase 2 strengthening. This movement involves raising your arm at a 30-45 degree angle forward from your side – a plane between full flexion and abduction. This angle minimizes impingement risk.
Utilize a light resistance band, holding one end in your hand and securing the other. Slowly lift your arm upwards, maintaining a controlled motion. Avoid shrugging your shoulders or rotating your arm during the lift.
Perform 10-15 repetitions for 2-3 sets.
Scaption primarily targets the supraspinatus muscle, vital for initiating arm elevation. Proper form is essential; focus on smooth, controlled movements. Gradually increase resistance as strength improves, always prioritizing technique over weight.
Rows with Resistance Band
Rows with a resistance band, commonly included in printable rotator cuff exercise PDFs, form a key component of Phase 2 strengthening, focusing on posterior shoulder and scapular muscle activation. Secure the band around a stable object at chest height.
Grasp the band with your elbow bent, pulling it towards your body while squeezing your shoulder blades together. Maintain a straight back and avoid twisting. This targets the rhomboids and lower trapezius, supporting shoulder stability.
Complete 10-15 repetitions for 2-3 sets.
Focus on controlled movements, resisting the band’s pull during both the pulling and returning phases. Proper form prevents compensation and maximizes effectiveness. Gradually increase band resistance as strength develops, ensuring consistent technique.
Phase 3: Advanced Strengthening & Functional Exercises
Phase 3, often detailed in printable rotator cuff exercise PDFs, transitions to more demanding movements, building upon previous strength gains and restoring functional capacity. This stage incorporates exercises like shoulder press (using light weights), bicep curls, and tricep extensions.
The shoulder press enhances overall shoulder strength, while bicep and tricep exercises contribute to dynamic stability. These exercises should be performed with controlled movements, prioritizing proper form over weight.

Functional movements, mimicking daily activities, are also crucial. Begin with 2-3 sets of 8-12 repetitions for each exercise.
Progress gradually, increasing weight or resistance as tolerated. Consistent execution and mindful attention to technique are vital to prevent re-injury and optimize rehabilitation outcomes.
Shoulder Press (Light Weight)
Shoulder press, a key component often found in printable rotator cuff exercise PDFs, targets the deltoid muscle and contributes to overall shoulder strength and stability. Begin with extremely light weights – even 1-2 pounds – or utilize resistance bands for a gentler progression.
Maintain a seated or standing position with good posture, ensuring your back is supported. Slowly press the weight upwards, extending your arm, but avoid locking the elbow. Lower the weight with control, resisting the downward motion.
Focus on smooth, deliberate movements, avoiding any jerking or momentum. Perform 2-3 sets of 8-12 repetitions. If pain arises, immediately reduce the weight or modify the exercise. Proper form is paramount to prevent re-injury.
Bicep Curls
Bicep curls, frequently included in physical therapy printable rotator cuff exercise PDFs, indirectly support shoulder function by strengthening the biceps brachii, which assists in shoulder stabilization. Begin with light dumbbells or resistance bands, prioritizing controlled movements over heavy weight.
Stand with feet shoulder-width apart, maintaining good posture and keeping your elbows close to your body. Slowly curl the weight upwards, contracting your biceps, and then lower it back down with control.
Avoid swinging your body or using momentum to lift the weight. Aim for 2-3 sets of 10-15 repetitions. If you experience any shoulder pain, reduce the weight or modify the exercise. Focus on a full range of motion, but stop if discomfort occurs.
Tricep Extensions
Tricep extensions are often incorporated into physical therapy printable rotator cuff exercise PDFs to strengthen the triceps brachii, contributing to overall shoulder stability and function. These exercises help balance the muscle groups around the shoulder joint, preventing imbalances that can exacerbate rotator cuff issues.
You can perform tricep extensions using dumbbells, resistance bands, or even bodyweight. For dumbbell extensions, hold a dumbbell overhead with both hands, keeping your elbows close to your head. Slowly lower the weight behind your head by bending your elbows, then extend back up to the starting position.
Perform 2-3 sets of 10-15 repetitions, focusing on controlled movements. If pain arises, reduce the weight or modify the exercise. Proper form is crucial to avoid strain.
Important Considerations for Exercise
Proper form and gradual progression are vital when following a printable rotator cuff exercise PDF, ensuring safety and preventing re-injury during rehabilitation.
Proper Form and Technique
Maintaining correct form during each exercise within a printable rotator cuff exercise program is absolutely crucial for maximizing effectiveness and minimizing the risk of further injury. Focus intently on controlled movements, avoiding any sudden jerks or compensating with other muscle groups.
When utilizing resistance bands, ensure they are securely anchored and that you’re applying tension consistently throughout the range of motion. For exercises like scaption or rows, keep your back straight and core engaged to stabilize your shoulder blade.
Pay close attention to your body’s signals; stop immediately if you experience sharp pain. A mild discomfort is acceptable, but pushing through significant pain can exacerbate the injury. Reviewing videos demonstrating proper technique, or consulting with a physical therapist, can significantly improve your form and ensure you’re performing the exercises safely and effectively. Prioritize quality over quantity – fewer repetitions with perfect form are far more beneficial than numerous repetitions performed incorrectly.
Progression and Avoiding Re-injury
Gradual progression is key when following a printable rotator cuff exercise program. Avoid the temptation to increase resistance or repetitions too quickly. Begin with lighter resistance bands or lower weights, and only increase the challenge as your strength and pain levels allow.
Listen to your body and respect its limits. If you experience a flare-up of pain, reduce the intensity or return to a previous phase of the program. Consistent, slow progress is far more effective than aggressive, rapid advancement.
To prevent re-injury, continue performing maintenance exercises even after you’ve achieved your initial goals. Incorporate shoulder strengthening into your regular fitness routine; Proper warm-up and cool-down routines are also vital. Remember, maintaining shoulder stability and strength is an ongoing process, not a one-time fix.
When to Consult a Physical Therapist
While printable rotator cuff exercise programs can be beneficial, a physical therapist’s guidance is crucial in certain situations. Seek professional help if your pain is severe, doesn’t improve with home exercises, or interferes significantly with daily activities.
A physical therapist can provide a personalized assessment, accurately diagnose the specific nature of your injury, and develop a tailored exercise plan. They can also address any underlying biomechanical issues contributing to your shoulder pain.
Don’t hesitate to consult a therapist if you experience new symptoms, such as numbness, tingling, or weakness. They can ensure you’re performing exercises correctly, preventing further injury, and maximizing your recovery potential. They can also guide progression and ensure optimal healing.